This is a sort of how to on making your own stickers at home. If you don’t want to design at home check my other blog out about how to create your stickers and use online companies to print and cut for you.
Design: You begin with designing a sticker. Brainstorm, sketch/draw, use what ever medium of your choosing or do it digitally, do what works for you. Want a white outline then make sure to add that in. If you plan to cut by hand then you don’t need to have that outline but if you do, I recommend you add it in just to give you a chance just in case the machine cuts a little off. This is the only fun part so do enjoy the process. Usually after this it gets stressful or nerve wrecking.
Scan: If you did a design by hand then make sure to scan at 600 dpi (dots per inch). You can go to your local library to scan if you don’t have a scanner at home. Now a days I’ve seen libraries with 3D printers so definitely their printers might have scanners so do check that out. You can also go to a Staples store to scan.
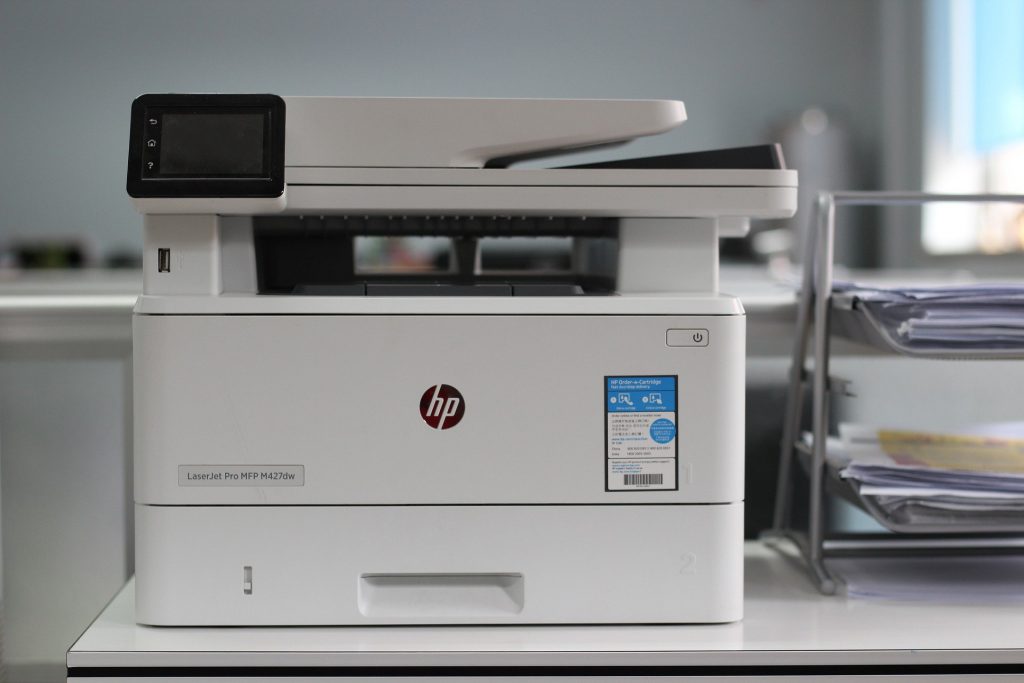
Print: When printing make sure to use CMYK as the chosen colour set up, if you use RGB, the colours will be off and trust me you’ll be super frustrated with the outcome. I know it sounds daunting to figure out but remember, everything in the beginning is always hard and the battle is uphill but as you get used to the process, everything will become second nature to you so take your time to learn what whats for you. From good’ol Google: RGB refers to the primary colors of light, Red, Green and Blue, that are used in monitors, television screens, digital cameras and scanners. CMYK refers to the primary colors of pigment: Cyan, Magenta, Yellow, and Black. … The combination of RGB light creates white, while the combination of CMYK inks creates black. If you don’t have a printer, fear not, can upload and print at your local small business or near a larger store such Walmart, Staples and Costco etc. Make sure to use a good quality sticker paper. I will post more about sticker papers and how to choose between what is best.
Laminate: Then the dreadful task of laminating. Done right and it will be smooth. Put it slightly on an angle and the rest of the stickers get messed up. Try to save it by taking it off, the printed parts come off. Oh the horror! Tip number one, use a plastic ruler, squeegee, soft rounded scraper that doesn’t have sharp edges otherwise it will rip the laminate and you might not notice until after you’re done. Since it’s clear you won’t see that it’s still stuck to the backing and parts of it was placed onto your sticker paper. (I’ll go into more detail about sticker papers in one of my blogs so you can decide which works best for you. The options are endless.)
Cut: Then the scariest part, having your cutting machine cut it. If its in a good mood, it’ll give you perfect cuts that give you the lovely sound of a perfect peel. If the pressure is off, well then you are fixing the mistakes after with a scissor because you better not dare to get the machine to cut again because this time it’ll cut things off. If the machine isn’t in a good mood, it’ll will ravage the page with miscut. Sometimes the machine plays tricks on you. It’ll act like its cutting perfectly and you dare to walk away and then bam it starts cutting off leaving you with a few good stickers to work with. (Another side note; do come back to check out details, tips and tricks on how to use a Silhouette which I use. As well more information on which machine would be best suited for you.)
Peel: Then peel, we addressed that with the good cut but I must emphasize how good it feels to have a perfect peel. Its like finding a good parking spot. It makes you’re day and you get this temporary high as to how lucky you’ve been today! That’s it! You’re done. Easy peasy lemon squeezy as my 5 year old would say!